SharePoint doesn't provide the out-of-the-box option to import data from Excel file to existing list. There is, however, an interesting workaround which is based on PowerAutomate.
If you want to put some data from Excel to new list using Import Spreadsheet app, but it's not very flexible and sometimes problematic. For example, you have to use browser that supports ActiveX controls (=Internet Explorer).
There is, however, an interesting workaround which is based on PowerAutomate (formerly called MS Flow).
NOTE: There's also
Import Excel or CSV to Listaddon which you can use. I learned about it after I finished this article, but I'm leaving it here anyway as it might be useful in some cases.
Let's say that we have an existing list which we'd like to use for our leave request system. It contains 3 fields:
- title (we put user email here, string type)
- quota (number type)
- approver (we choose who will approve requests fot that user, field type is user/group)
Preparing the spreadsheet
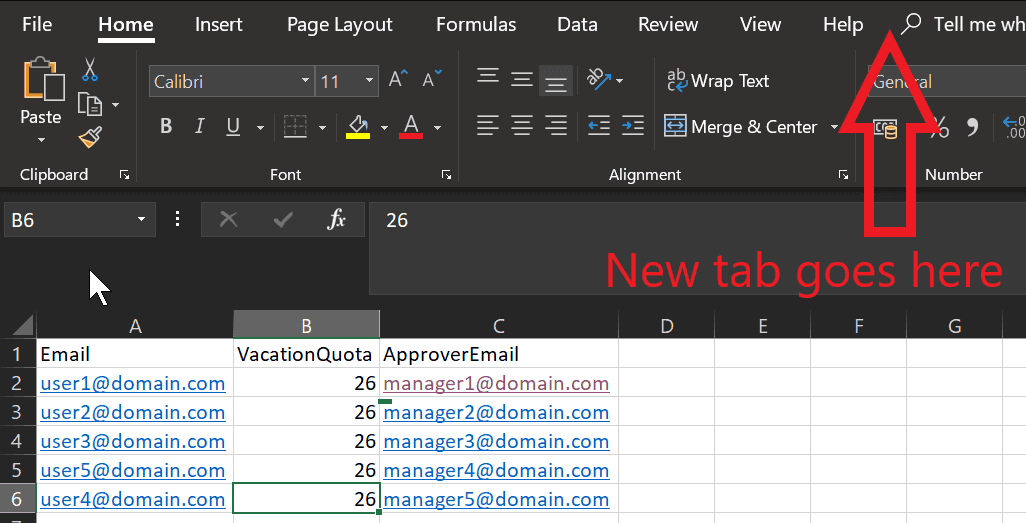
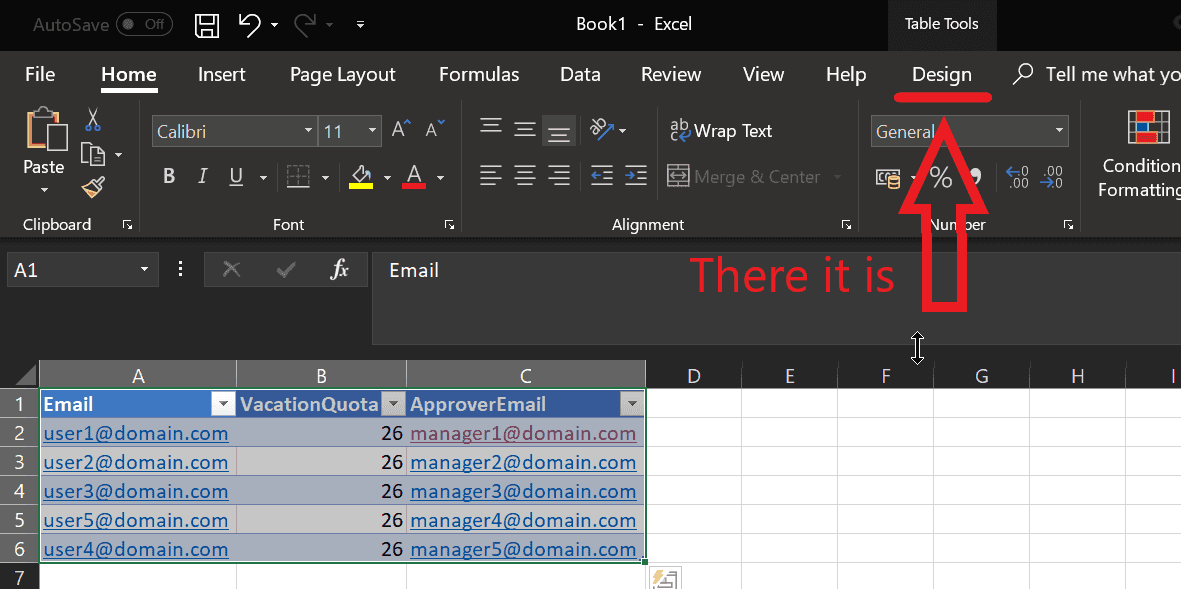
If you want to import the spreadsheet, you need to remember that Excel connector for PowerAutomate only supports data from the table. If you're not sure if your data is in the table, click on any cell and you should see additional tab Design in the ribbon:
new-tab-ribbon.png
If you're not seeing it, click Ctrl+t to create new table:
we-have-a-table.png
Now put the file in your OneDrive folder (you can also use your MS Group library or SharePoint) and you can start creating a flow.
Creating a flow
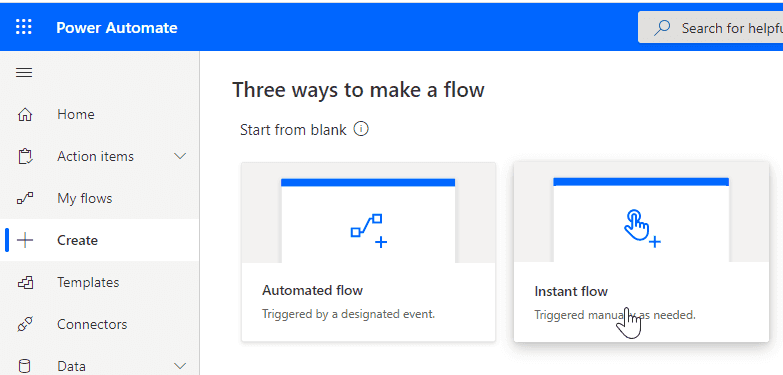
We'll be using instant (manually trigered) flow:
create-flow.png
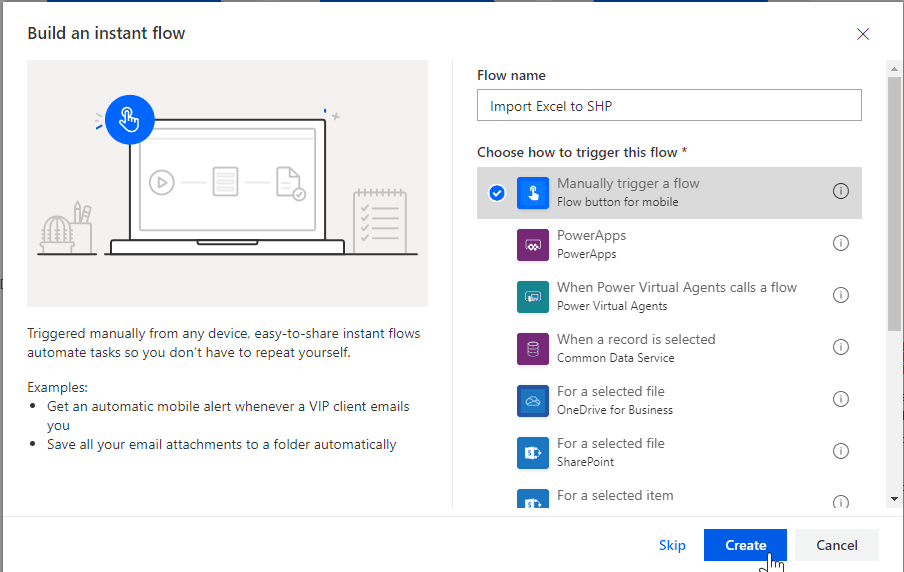
We name it and choose Manually trigger a flow:
choose-a-trigger.png
Next action is List rows present in a table from Excel Online (Business) connector.
We choose the file and proper table.
Then we add Apply to each block and use the value from previous step:

apply-to-each-input.png
Inside the block we use Create item from SharePoint connector.
For some of the fields, values might not be chooseable. This usually happens for types other than string (for User/Group type we specify Claims value which is also string) like numbers.
We can workaround this using the expression:
item()?['PropertyName']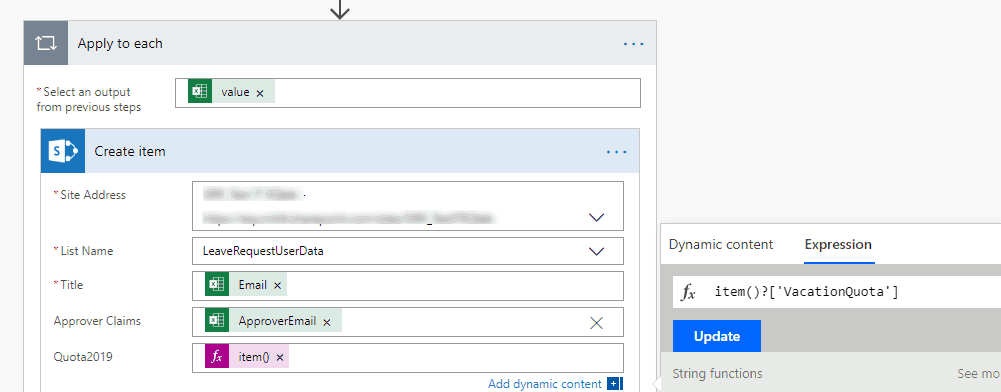
create-item-inside-loop.png
If we save and refresh we'll see that expression converted to the value similar to what we chosen for string-type fields:
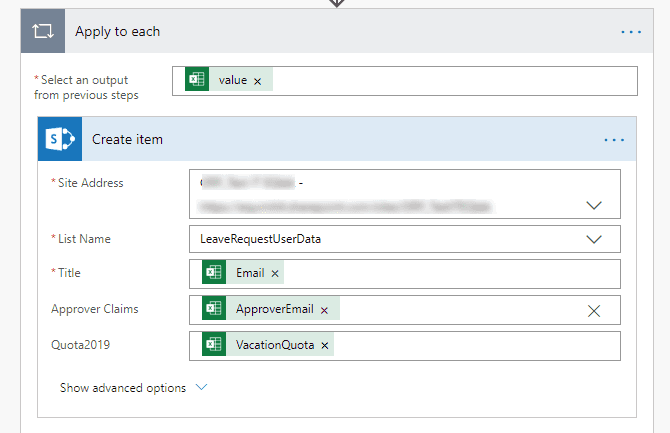
create-item-converted.png
Now we can 'test' the flow (be careful as it will create items on the list, so it's more 'test in production')

test-in-production.png
Source: SpiceworksIn top-right corner we choose 'Test' link and specify to perform trigger action manually:
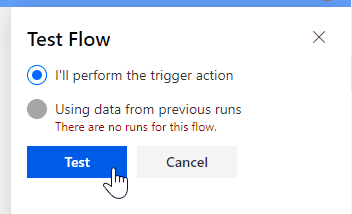
test-flow.png
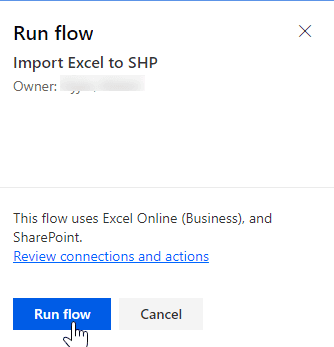
We create manually-triggered flow so the wizard allows us to trigger it straight from the website. After we confirm the connectors being used:
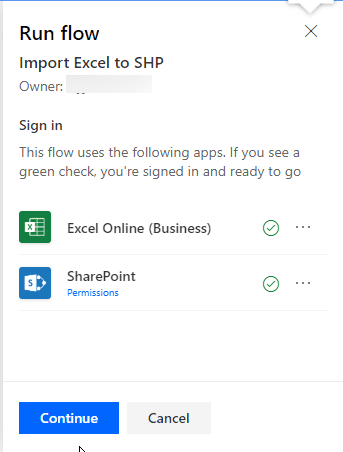
run-flow-2.png
We can click 'Continue':
run-flow-3.png
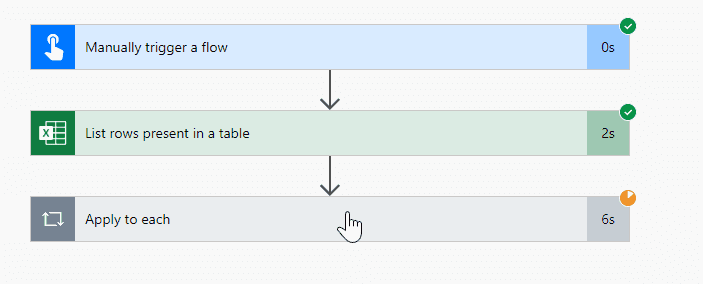
Aaaaand it runs:
flow-started.png